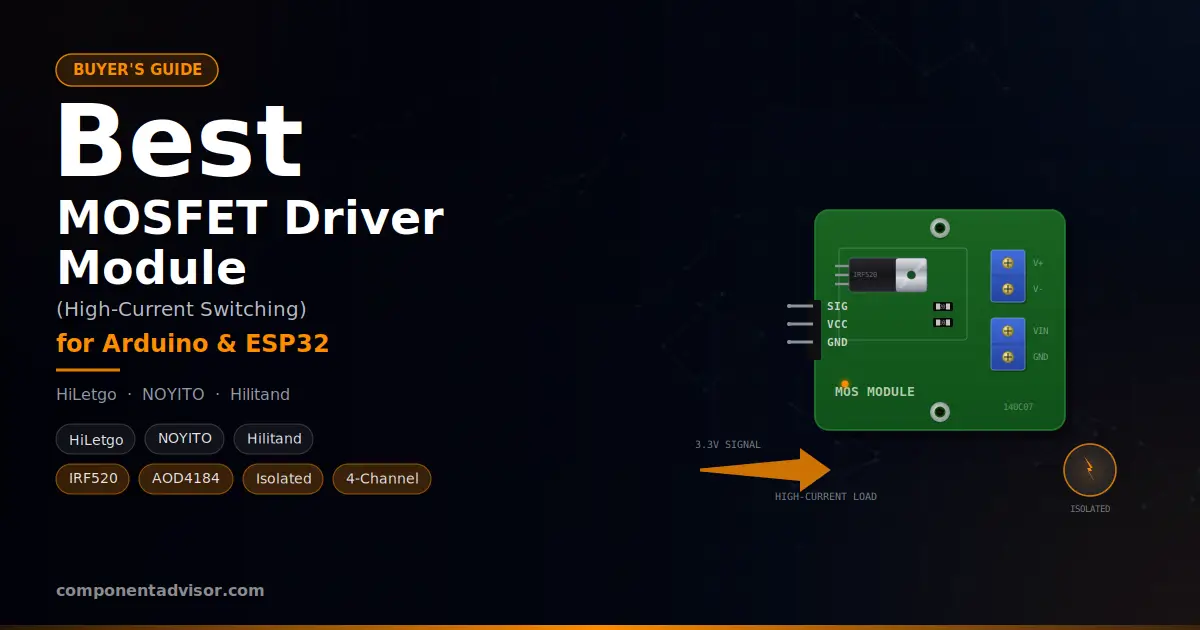
Picking the best MOSFET driver module for Arduino and ESP32 projects means dealing with a problem that catches out more hobbyists than any spec sheet warns about: a module marketed as “3.3V/5V compatible” doesn’t always mean the MOSFET actually switches on fully at 3.3V. Get this wrong and a motor, pump, or LED strip that should be running at full power instead runs weak, hot, or not at all.
This guide covers four MOSFET modules spanning the real distinctions that matter: gate threshold compatibility, current capacity, and whether the control side is electrically isolated from the power side. Two of the four picks in this guide come with documented real-world caveats from actual buyers about logic-level compatibility, which is exactly the kind of detail worth knowing before you wire one into a project.
Driving a motor rather than just switching it on and off? Our Best DC Motor Driver for Arduino and ESP32 guide covers dedicated H-bridge drivers for bidirectional control, and if you’re working through a voltage mismatch elsewhere in the same project, Best Logic Level Converter for Arduino and ESP32 covers that separately.
Quick Comparison Table
| Module | Channels | Isolated | Logic Input | Output Rating | Best For |
|---|---|---|---|---|---|
| HiLetgo IRF520 | 1 | No | 3.3V/5V advertised, best at 5V | 0-24V, under 5A without heatsink | Best budget/classic module |
| Dual High-Power MOSFET Module | 1 (dual parallel FETs) | No | 3.3V-20V | DC 5V-36V, 15A (30A peak) | Best high-current direct-drive module |
| NOYITO Isolated MOSFET (AOD4184) | 1 | Yes | Optocoupler isolated | 40V, 50A | Best isolated/highest-power module |
| Hilitand 4-Channel MOSFET Module | 4 | Yes | 3-20V advertised, best above 5-6V | DC 3.7-27V, 10A per channel | Best multi-channel module |
1. Best Budget/Classic MOSFET Module: HiLetgo IRF520 MOSFET Driver Module
HiLetgo IRF520 MOSFET Driver Module
Best for: Beginners switching motors, pumps, or LED strips from a 5V Arduino, with a caveat worth knowing before wiring it to a 3.3V ESP32.

The IRF520 is the MOSFET module nearly every beginner tutorial reaches for first, a single N-channel MOSFET on a breakout board with screw terminals, an LED indicator, and a pulldown resistor so the output stays off until you actively drive it high. It’s simple to wire: signal in from a digital or PWM pin, load and power on the screw terminals, and it switches the load on and off, or dims it with PWM.
Here’s the detail worth knowing upfront: while this module is commonly advertised as 3.3V and 5V compatible, real buyer feedback confirms the IRF520’s gate needs closer to 5V to switch on fully. One reviewer testing it directly at 3.3V found it didn’t fully turn on, but confirmed it works fine at 5V. For a 5V Arduino, that’s a non-issue. For a 3.3V ESP32 driving it directly from a GPIO pin, expect weaker switching than the load actually needs.
Specifications:
- MOSFET: IRF520, N-channel, TO-220 package
- Output: 0V to 24V
- Current: rated higher, but keep it under 5A without additional heatsinking
- Control input: digital or PWM signal
- Connections: screw terminals for power and load
Why it stands out:
- Cheapest, most widely documented MOSFET module for basic switching and PWM dimming
- Screw terminal wiring makes connecting motors, pumps, and LED strips simple
- LED indicator shows switching state at a glance
- Onboard pulldown resistor keeps the output off until actively driven
- Massive tutorial base going back years, troubleshooting help is easy to find
Things to keep in mind:
- Confirmed by real buyer testing to switch on more reliably at 5V than at 3.3V, despite being marketed as both
- No isolation between control and power sides, back-EMF from inductive loads reaches the microcontroller pin directly
- Needs a heatsink for sustained currents above a few amps
👉 Buy HiLetgo IRF520 MOSFET Driver Module on Amazon
Verdict: A fine, cheap starting point for 5V Arduino projects. For a 3.3V ESP32 driving it directly, verify it actually switches on fully at your project’s voltage before committing to a design.
2. Best High-Current Direct-Drive Module: Dual High-Power MOSFET Trigger Switch Module
Dual High-Power MOSFET Trigger Switch Drive Module (15A/30A)
Best for: Higher-current loads like larger motors, heating elements, or bright LED strips that need more current than a single IRF520 comfortably handles.

This module solves the IRF520’s logic-level ambiguity and current ceiling in one step. Its trigger input reliably accepts a digital high/low signal from 3.3V up to 20V, so it reliably switches from either an Arduino or an ESP32 without the gate-threshold guesswork the IRF520 comes with. Two parallel MOSFETs share the load current, which lowers combined on-resistance and heat compared to a single transistor doing the same job.
At 15A continuous and up to 30A peak across a 5V to 36V range, it comfortably handles loads well beyond what the IRF520 is rated for, and the adjustable 0-20kHz PWM range gives finer control over motor speed and LED dimming than a fixed-frequency module. It’s still a direct-drive design, meaning the control and power sides share a common ground rather than being electrically isolated.
Specifications:
- MOSFETs: dual parallel N-channel FETs
- Trigger input: digital high/low, DC 3.3V to 20V
- Output: DC 5V to 36V, 15A continuous, 30A peak, 400W
- PWM: adjustable 0 to 20kHz
- Isolation: none, direct-drive design
Why it stands out:
- Genuinely wide 3.3V to 20V trigger range, no gate-threshold ambiguity like the IRF520
- Dual parallel MOSFETs handle significantly more current with less heat than a single transistor
- Adjustable PWM frequency up to 20kHz suits both motor speed control and flicker-free LED dimming
- Comfortably rated for larger motors and heating elements the IRF520 isn’t built for
- Simple screw terminal wiring consistent with the rest of this product category
Things to keep in mind:
- Not isolated, back-EMF and voltage spikes from inductive loads reach the control side directly
- Physically larger than a single IRF520 module, factor that into enclosure planning
- Higher current capacity means proper wire gauge and connections matter more than on smaller modules
👉 Buy Dual High-Power MOSFET Trigger Switch Module on Amazon
Verdict: The upgrade path once a project’s current draw or logic-level reliability outgrows the IRF520. Genuinely compatible with both 3.3V and 5V logic, with real headroom for bigger loads.
3. Best Isolated/Highest-Power Module: NOYITO Isolated MOSFET Module (AOD4184)
NOYITO Isolated MOSFET Module (AOD4184, 40V/50A)
Best for: High-current loads and noisy electrical environments where protecting the microcontroller from voltage spikes matters as much as switching capacity.

Every module above this one wires the control signal directly to the MOSFET’s gate, which means any electrical noise, voltage spike, or back-EMF on the power side has a direct path back toward your microcontroller pin. This module breaks that path entirely with an optocoupler between the control input and the AOD4184 MOSFET driving the load, so the two sides are electrically isolated rather than sharing a common reference.
That isolation matters most with inductive loads like motors, solenoids, and relay coils, which generate voltage spikes when switched off that a non-isolated module passes straight back toward the driving pin. Rated for 40V and 50A, it also has the highest single-channel power capacity in this guide, making it a solid choice for projects that need both serious current handling and a clean electrical separation between logic and power.
Specifications:
- MOSFET: AOD4184
- Isolation: optocoupler between control input and MOSFET gate
- Output: 40V, 50A
- Package: pack of 2 modules
Why it stands out:
- Genuine optocoupler isolation protects the microcontroller from back-EMF and voltage spikes
- Highest power rating in this guide at 40V and 50A
- Isolation makes it a better fit for noisy industrial-style environments than direct-drive modules
- Comes as a pack of 2, useful for projects needing more than one high-power switch
- Well suited to inductive loads like motors and solenoids where spike protection matters
Things to keep in mind:
- Optocoupler isolation adds a small propagation delay compared to direct-drive modules, rarely significant but worth knowing for very high-speed switching
- Single channel per module, needing more than one switch means wiring multiple boards
- Higher cost than the non-isolated options in this guide for the added protection
👉 Buy NOYITO Isolated MOSFET Module on Amazon
Verdict: The right choice when a project’s load is inductive, the environment is electrically noisy, or protecting the microcontroller matters more than shaving cost off the parts list.
4. Best Multi-Channel Module: Hilitand 4-Channel MOSFET PWM Driver Module
Hilitand 4-Channel MOSFET PWM Driver Module (PLC Amplifier)
Best for: Controlling four independent motors, LED strips, or solenoids from a single board, with a logic-level caveat worth testing before you rely on it.

Every module above this one switches a single load. This one packs four independent, optocoupler-isolated MOSFET channels onto one board, each with its own screw terminals for power and load, useful for projects controlling several motors, pumps, or LED zones without wiring up four separate single-channel modules. Each channel is rated for 10A across a 3.7V to 27V output range, and the PWM input accepts a signal from 3V to 20V according to the listing.
As with the IRF520, real buyer testing tells a more complete story than the spec sheet alone. At least one reviewer found the optocoupler circuit doesn’t reliably conduct until roughly 5 to 6 volts, meaning the advertised 3V compatibility may not hold up consistently on every board, particularly for ESP32 and Raspberry Pi projects driving it at 3.3V. Testing your specific board at your actual logic voltage before finalizing a design is worth the extra few minutes.
Specifications:
- Channels: 4, independent, optocoupler isolated
- PWM input: advertised 3V to 20V (verify at your logic voltage, see note above)
- Output: DC 3.7V to 27V, 10A per channel
- PWM frequency: 0 to 1kHz
- Connections: screw terminals for DC+, DC-, PWM, GND, and four OUT+/OUT- pairs
Why it stands out:
- Four independent channels on one board instead of wiring four separate single-channel modules
- Optocoupler isolation on every channel protects the microcontroller from each connected load
- 10A per channel comfortably handles motors, LED strips, and solenoids
- Clear screw terminal labeling for power, signal, ground, and each channel’s output
- Genuinely useful for multi-zone projects like irrigation controllers or multi-motor robots
Things to keep in mind:
- Documented reviewer feedback suggests the optocoupler may need closer to 5-6V than the advertised 3V to reliably switch, test at your actual logic level
- PWM frequency ceiling of 1kHz is lower than the dual MOSFET module’s 20kHz, which may matter for LED dimming smoothness
- Four channels on one board means one board failure affects every connected load
👉 Buy Hilitand 4-Channel MOSFET PWM Driver Module on Amazon
Verdict: A useful multi-channel option once you’ve confirmed it switches reliably at your project’s actual logic voltage. Test before committing it to a build that depends on all four channels working consistently.
Which MOSFET Driver Module Should You Buy?
The right MOSFET driver module for Arduino or ESP32 projects comes down to three questions: how much current does the load actually draw, does the control side need electrical isolation from the power side, and does your logic voltage actually switch the module on fully.
For most simple 5V Arduino projects switching a single motor, pump, or LED strip, the HiLetgo IRF520 remains the cheapest, most documented starting point, just confirm it switches on fully if you’re driving it from a 3.3V ESP32. Once current draw or logic-level reliability becomes a real concern, the Dual High-Power MOSFET Module reliably handles both 3.3V and 5V logic while adding real headroom for bigger loads.
When the load is inductive, a motor, solenoid, or relay coil, or the project runs in an electrically noisy environment, the NOYITO Isolated MOSFET Module protects the microcontroller with genuine optocoupler isolation at the highest power rating in this guide. And for projects controlling several independent loads at once, the Hilitand 4-Channel Module consolidates that wiring onto one board, provided you test it at your actual logic voltage first.
Gate Threshold Voltage: Why Some “Logic-Level” Modules Don’t Actually Work at 3.3V
Two modules in this guide, the IRF520 and the Hilitand 4-channel module, share the same underlying issue despite looking unrelated on the surface: a MOSFET needs its gate voltage to exceed a specific threshold before it conducts fully, and that threshold isn’t always as low as a listing’s “3.3V/5V compatible” claim suggests.
Every MOSFET has a gate threshold voltage, the point where it starts to turn on, and a separate, higher voltage where it’s fully saturated and conducting with minimal resistance. Genuine logic-level MOSFETs are specifically designed with a low enough threshold that 3.3V reliably reaches full saturation. Older or more generic parts like the IRF520 were designed in an era when 5V logic was standard, and while they’ll technically start conducting at 3.3V, they may not reach full saturation, resulting in higher resistance, more heat, and a load that doesn’t get the full power it should.
The practical lesson: a listing advertising “3.3V/5V compatible” describes what voltages can drive the module at all, not necessarily what voltage is needed for it to switch on fully. When a project depends on a MOSFET module working correctly at 3.3V, testing it directly with your actual board, ideally checking that the connected load reaches full brightness or full speed, catches this problem before it’s buried inside a finished build.
Isolated vs. Non-Isolated MOSFET Modules: When Isolation Actually Matters
Two modules in this guide, the AOD4184 and the Hilitand 4-channel board, use an optocoupler to electrically separate the control signal from the MOSFET’s gate. The other two wire the control pin directly to the gate. That difference matters more in some projects than others.
A non-isolated module, like the IRF520 or the dual high-power module, connects your microcontroller’s pin directly to the switching circuit. For simple resistive loads like LED strips or heating elements in a clean electrical environment, that’s rarely a problem. But inductive loads, motors, solenoids, and relay coils, generate a voltage spike when the current through them is suddenly interrupted, a phenomenon called back-EMF, and without protection that spike has a direct path back toward the pin driving it.
An isolated module breaks that path with an optocoupler, a small component that transmits the switching signal using light rather than a direct electrical connection. The microcontroller side and the power side no longer share a common electrical reference, so voltage spikes and noise from the load side have no direct route back to the sensitive logic pin. The practical rule: for simple, clean loads in a controlled environment, a non-isolated module saves cost and complexity. For motors, solenoids, relay coils, or any project where a damaged microcontroller pin would be a costly mistake, the isolation is worth having.
Final Recommendation
For most Arduino and ESP32 projects, the HiLetgo IRF520 remains a fine starting point for a MOSFET driver module for Arduino builds, provided it’s paired with a 5V Arduino or verified to switch on fully at 3.3V. Projects needing more current or genuine multi-voltage logic compatibility should look at the Dual High-Power MOSFET Module instead, and anything switching a motor or solenoid should strongly consider the isolation the NOYITO AOD4184 module provides.
ArduinoYard has two guides that cover the PWM and switching concepts behind every module in this guide: the ESP32 LEDC PWM guide covers the ESP32’s hardware PWM system used to drive these modules with precision, and the L298N Motor Driver with Arduino guide explains how MOSFETs function as switches inside an H-bridge, useful background for understanding what these standalone modules are doing at a lower level.
Rounding out your Arduino and ESP32 parts bin? Check out our guides on the Best DC Motor Driver for Arduino and ESP32, Best Relay Module for Arduino and ESP32, and Best Logic Level Converter for Arduino and ESP32.